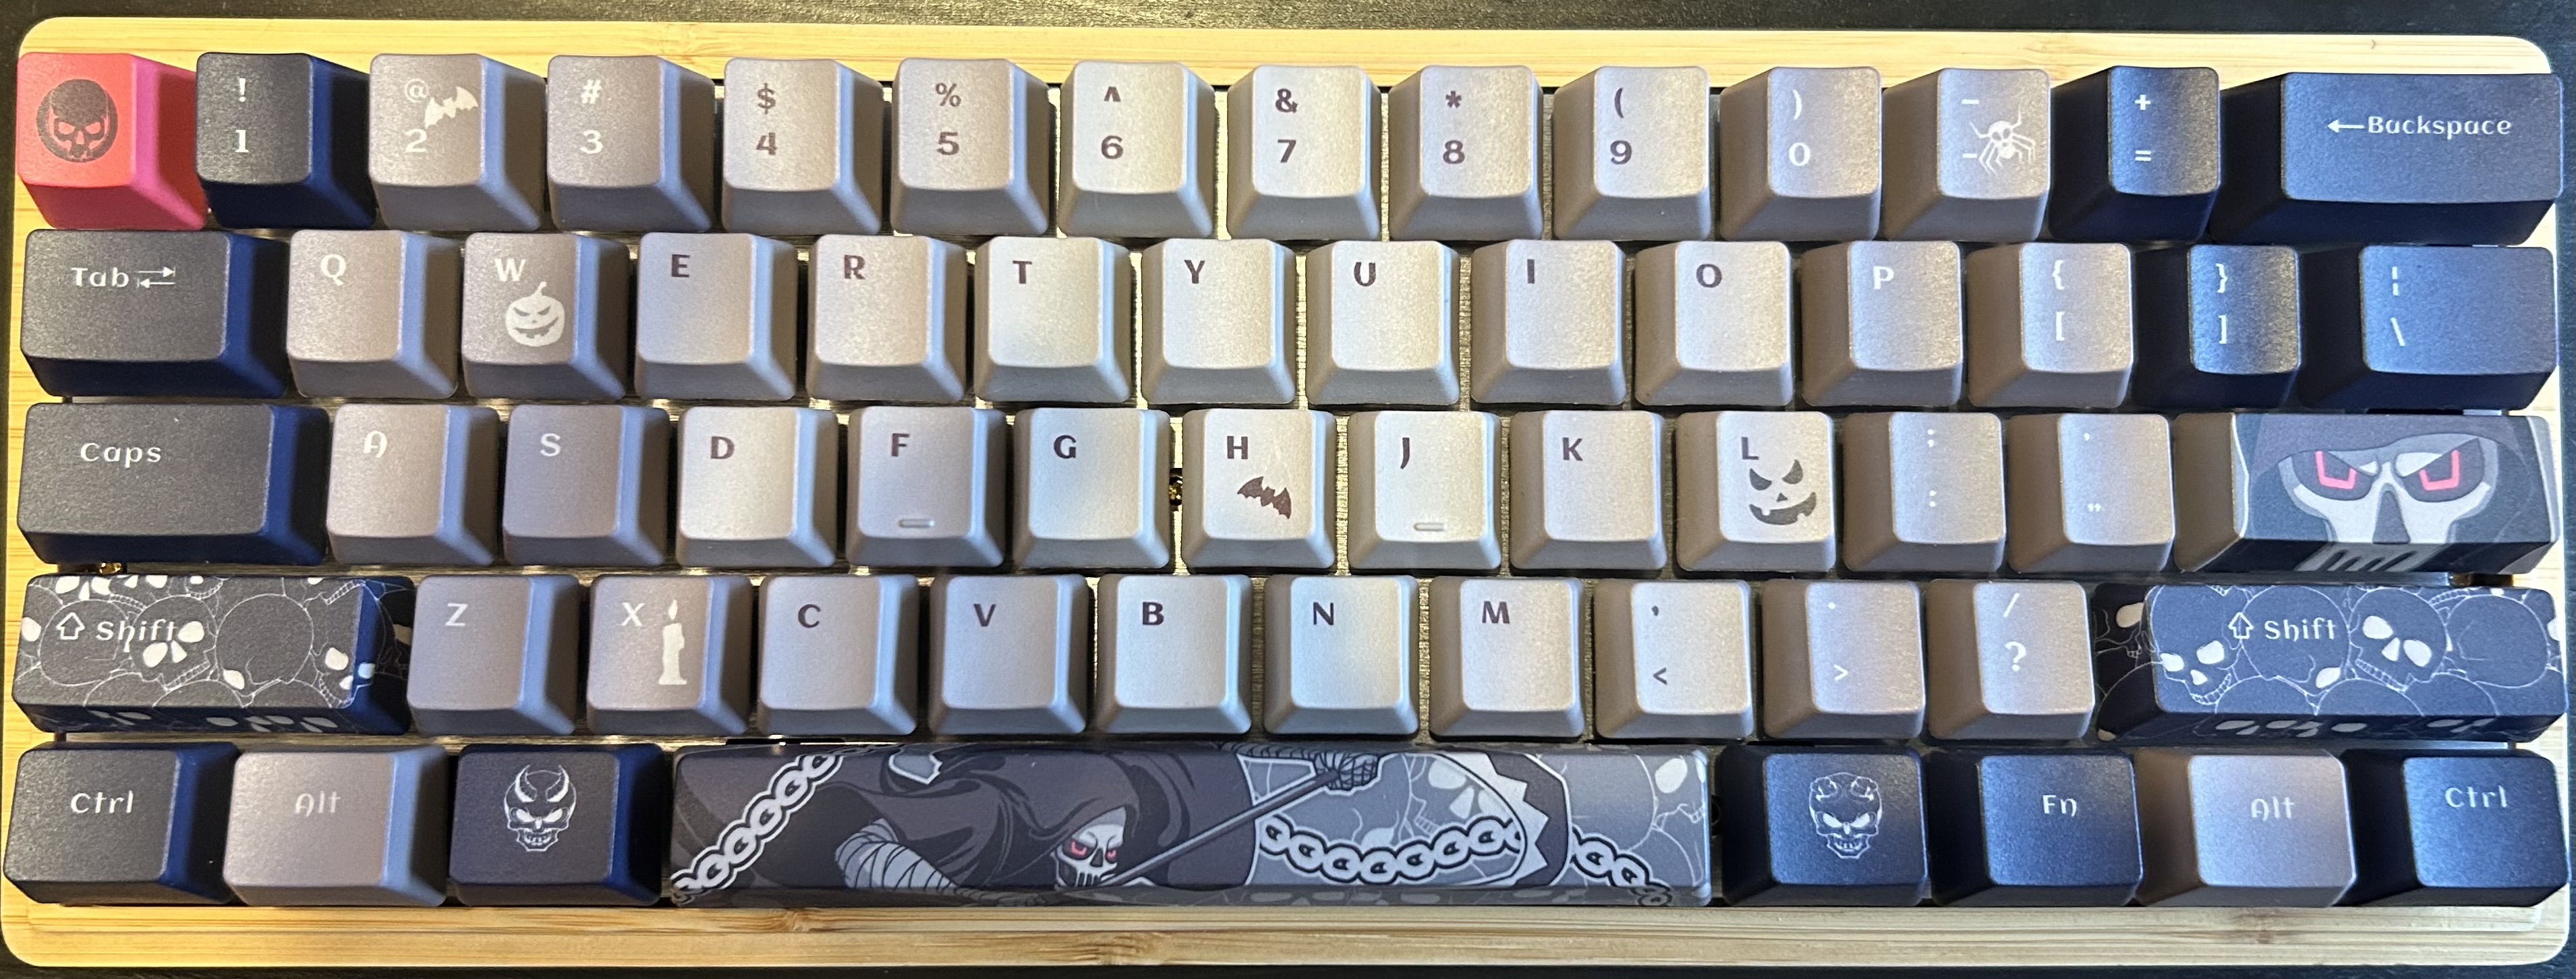
Over the last two days I finally built my first custom mechanical keyboard. I have been curious about it for a while, and recently saw a tweet about it that renewed my interest. As a complete newb in this arena, what tipped the scales was the tweet thread included some links to helpful resources that took away much of the mystery. Thanks for the tweet @hacks4pancakes!
Getting Started
The article that really got me started was How To Build a Keyboard. It provides some great resources for what you need, where to get the parts, and how to assemble. There are also some nice descriptions of the trade-offs that come with different choices.
I decided I wanted to build a small keyboard that would be easy to tote back and forth to the office so I don’t have to use the built-in laptop keyboard that I hate so much (admittedly, the keyboards on the M1 Mac Pros are better than on the previous generation). To this end, I decided to built a 60% form factor keyboard using Gateron silent black keys. I used this switch sampler to decide which switches I wanted.
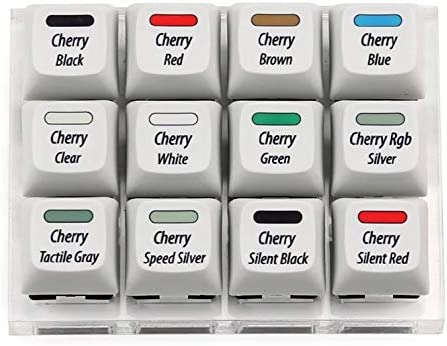
I decided on the silent black switch because a) I want to be kind to the other folks in the office and not be too noisy, and b) I learned to type on a manual typewriter way back when, so I tend to kit the keys pretty hard so the extra resistance from the black switches is good.
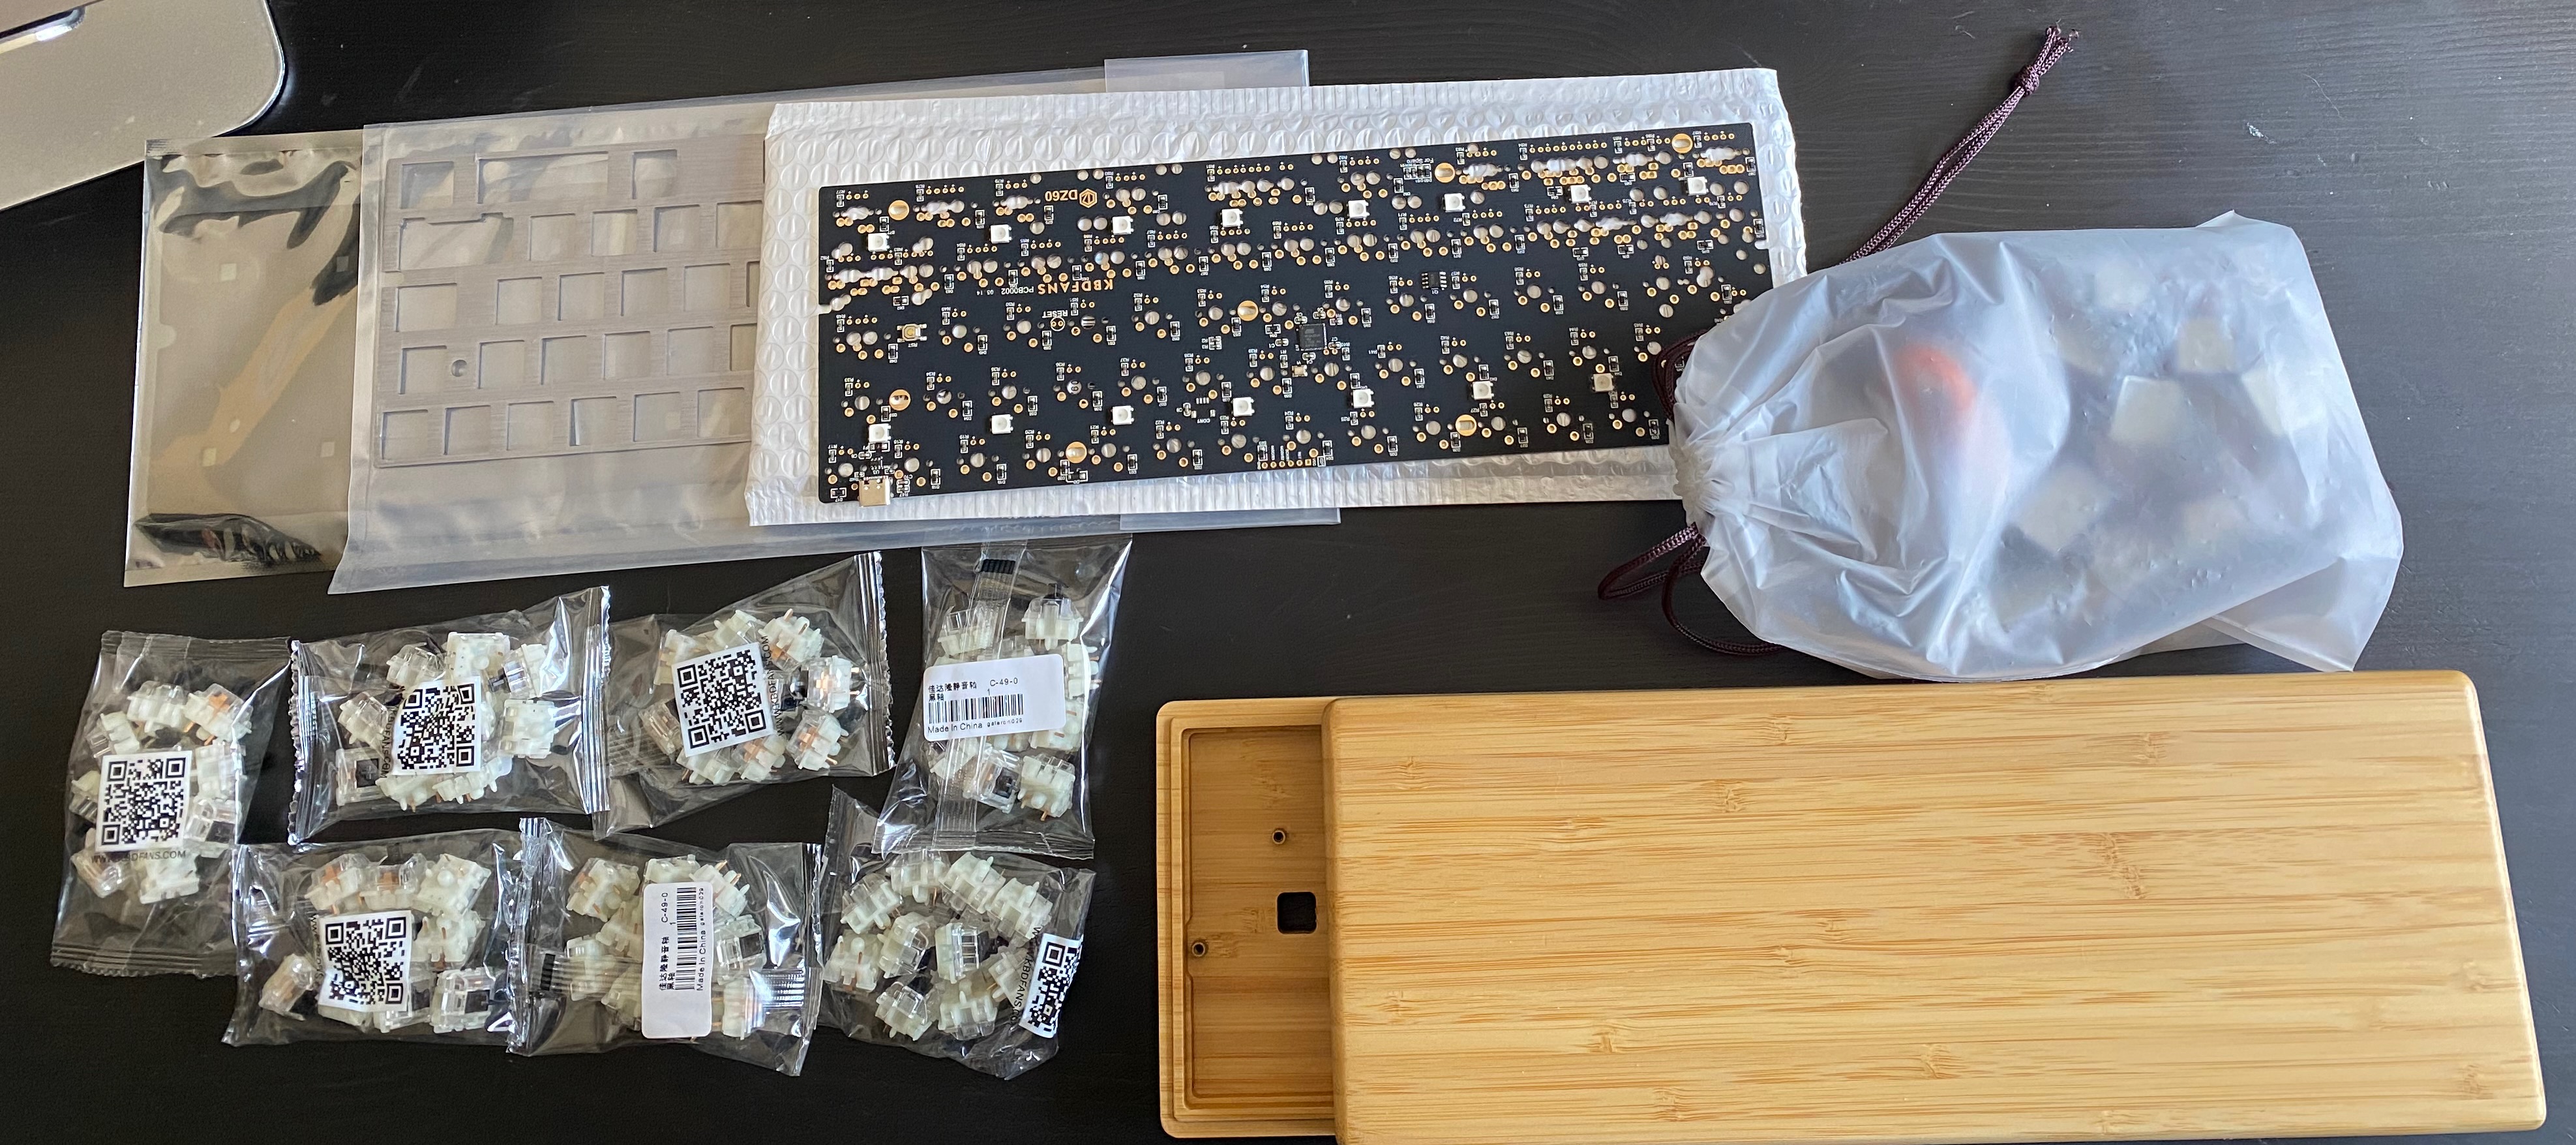
After deciding what I wanted to build, I ordered all parts other than key caps from KBDfans. Having no prior experience, I found their site very helpful. On the PCB page there was a list of compatible parts to use with that particular board which helped remove a lot of the guesswork.
Parts List:
- DZ60 Solderable 60% Mechanical Keyboard PCB
- 60% CNC’d Aluminum Plate
- Cherry Screw In Stabilizer PCB Mount
- 7 x Gateron Silent Black Linear Switches (70 switches)
- DZ60 Soldered Case Foam
- 60% Bamboo Case
- CHARAN PBT Keycaps Because spooky season is upon us
- HyperX Pudding Keycaps For when I’m tired of spooky season
The Build
I followed How To Build a Keyboard pretty closely during the build but occasionally ran into questions along the way that I will answer here. I followed their advice and tested the PCB using this site. The PCB was programmed for a different layout than what I wanted, but all switches worked and I could worry about the programming later. On with the show!
Stabilizers
Now that I had my parts, the next step was to install the stabilizers. This brought up 2 newb questions:
- Which side of the PCB is “up”?
- How do I install the stabilizers?
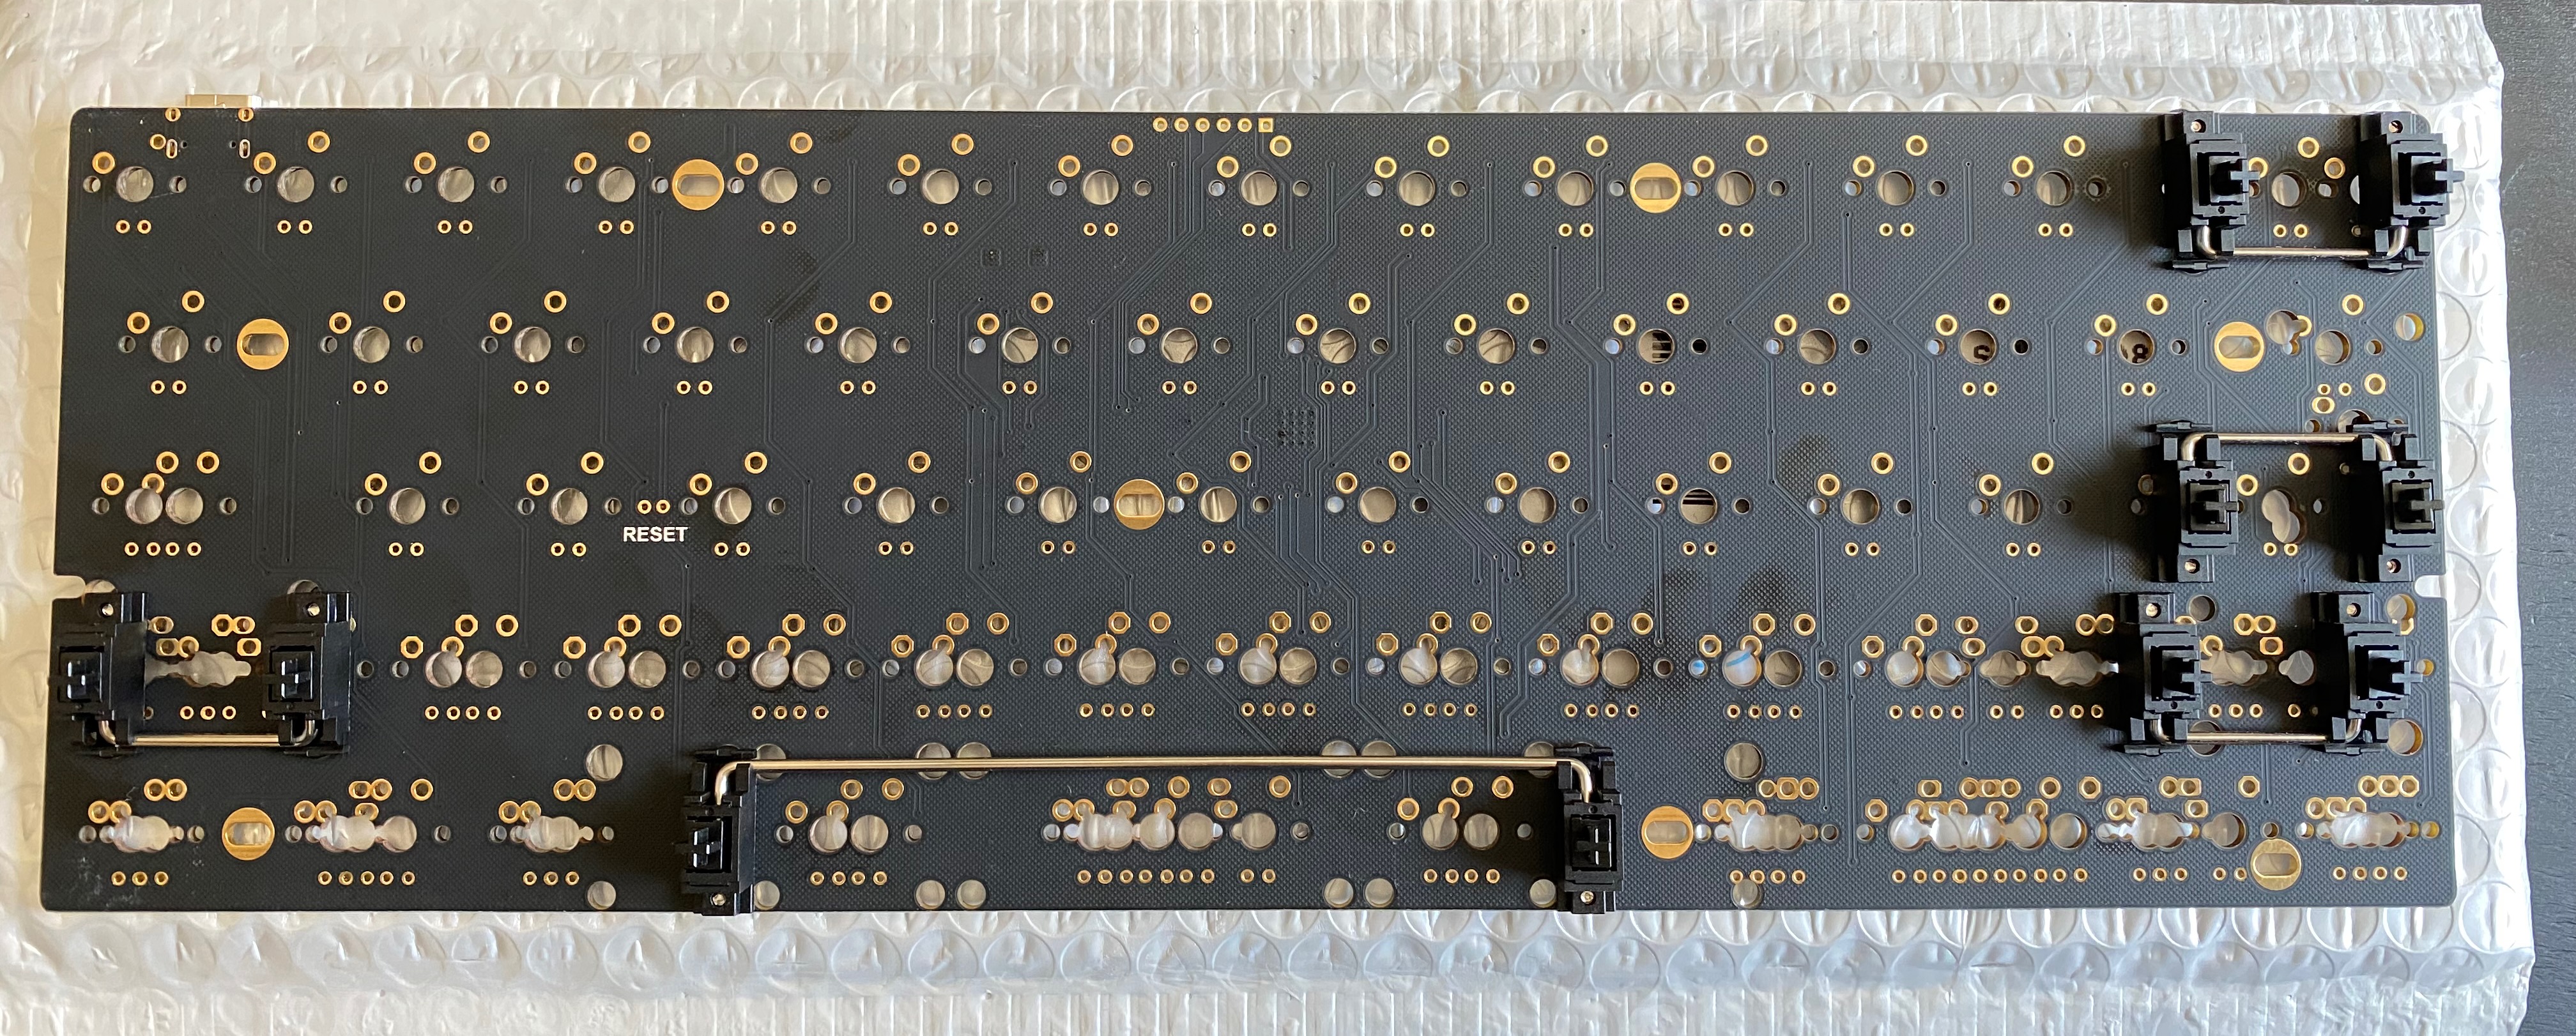
The answer to the first question was not hard - if you hold the switches to the PCB you find they can only fit one direction. The side with the LEDs/resistors/other components is the bottom. The smooth side is “up”.
The second question took a little searching, but a quick Duck Duck Go search led me to this video which was quite helpful. After watching the video I installed the stabilizers for Layout #2 on the PCB parts page.
Switches
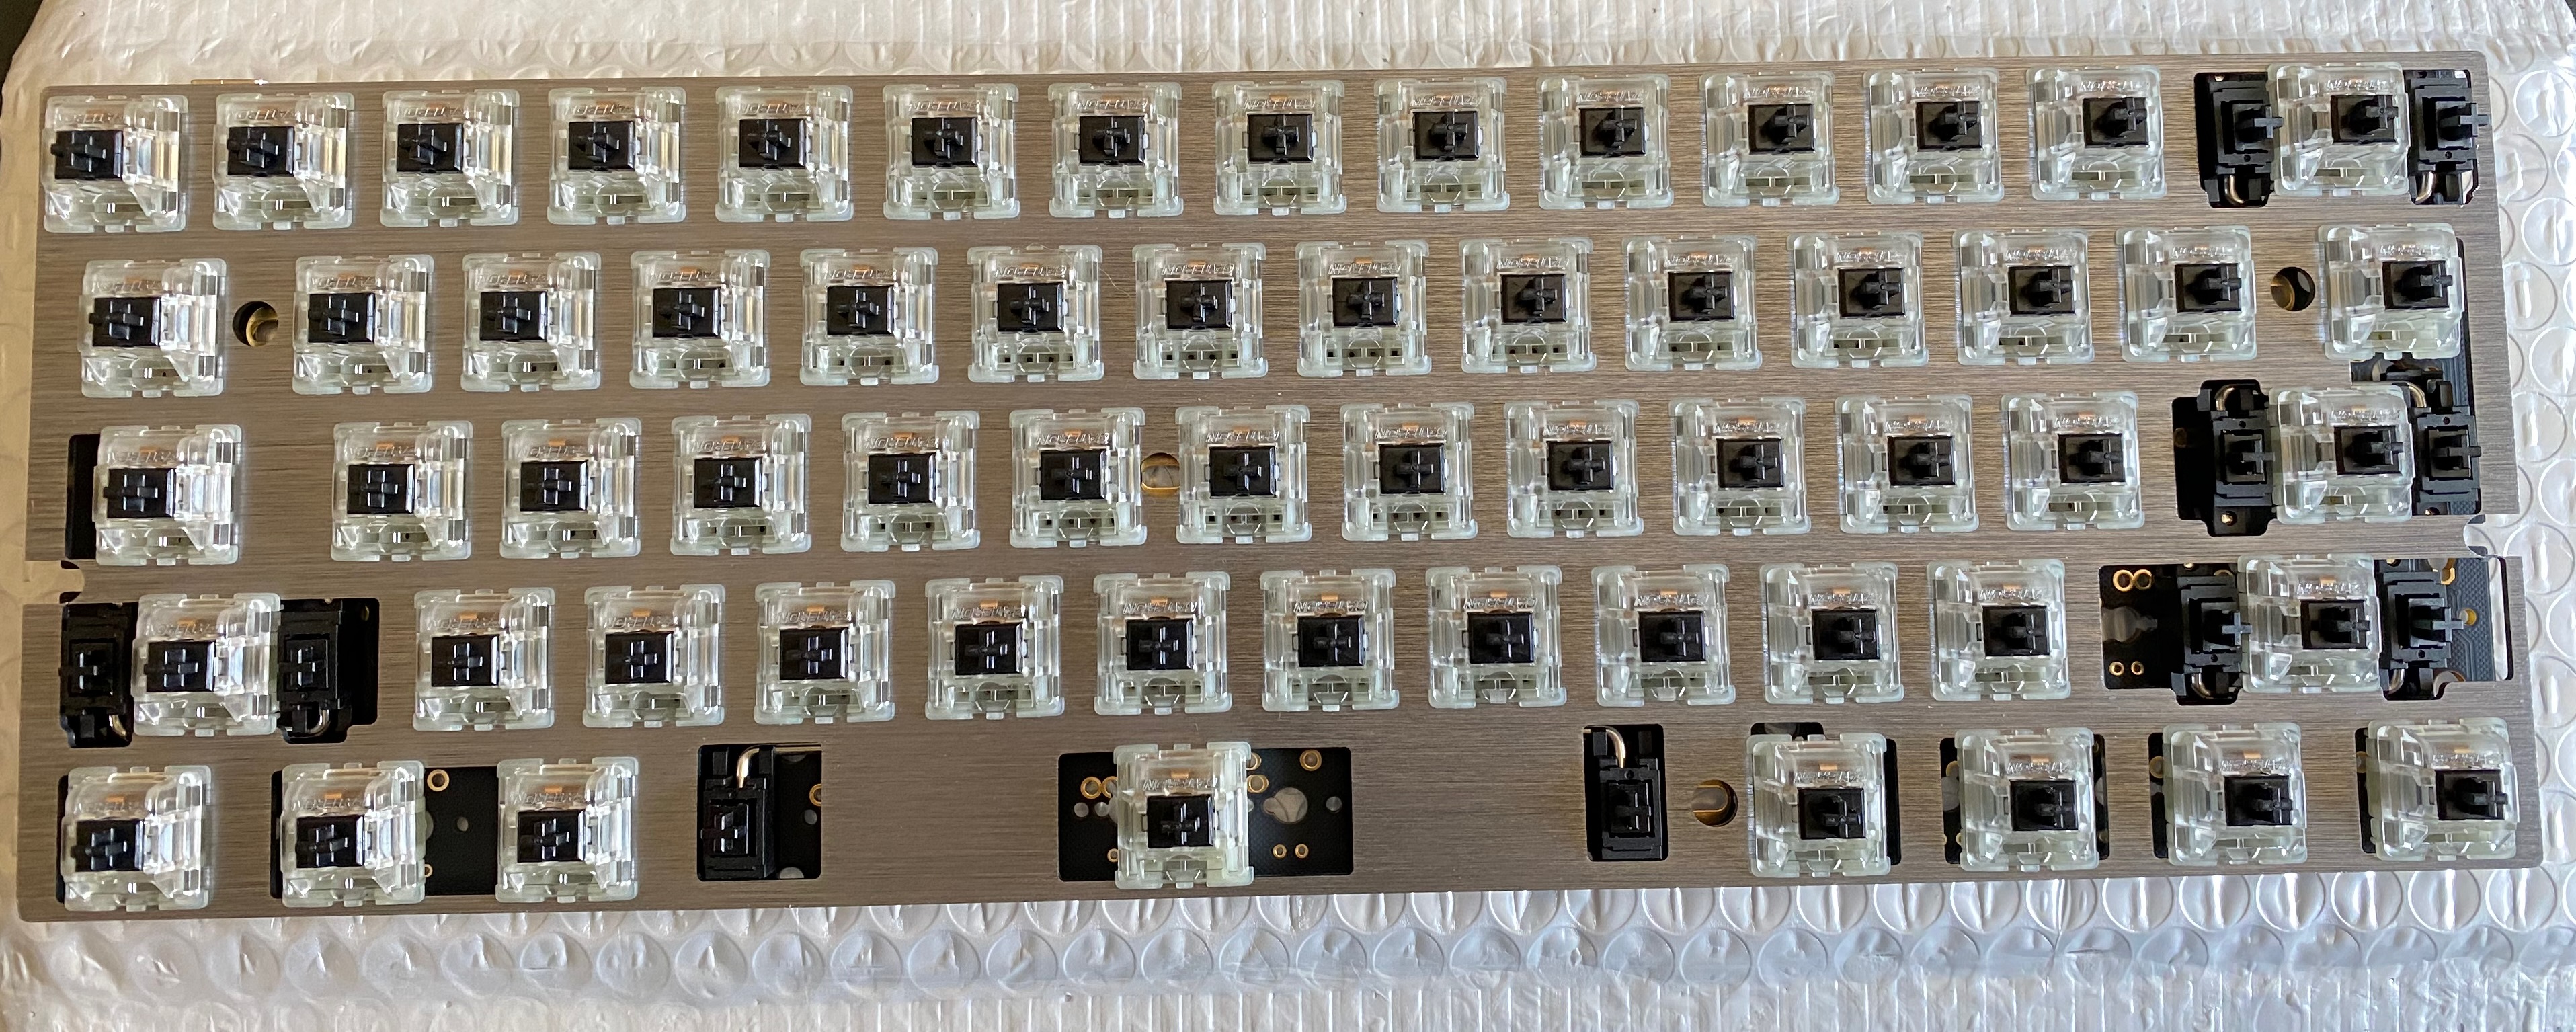
Once my stabilizers were in place, it was time to install the switches into the plate. I found it easier to add the switches to the plate and then fit the plate to the PCB, while leaving the switches that can slide in the plate until after fitting to the PCB. It helps to look at the contacts for each switch as you insert it into the plate - I had 1 switch with a bent pin that could have caused grief later.
One thing I learned the hard way was to test your switch spacing for the variable location switches by installing the key caps before soldering. I got most of them spaced correctly, but found out that I got the 3 switches to the left of the space bar off by a single hole (1mm or less), which prevented the keycaps from fitting on the switches. This in turn prompted a trip to the local electronics component shop to get a solder sucker since I didn’t already have one.
Once I had all the switches in place, time to start soldering them on. I could have selected a snap-in PCB, but decided the soldered PCB was the way to go because a) I wanted the stability and security of soldered since it would be transported frequently, and b) it had been a long time since I got out the soldering iron and I wanted to refresh those skills. I worried that soldering 122 pins would take a long time, but it went much more quickly than I anticipated. I though I would come away from it saying I would never do that again, but in actuality I ended up thinking that was easy enough I could do that many more times.
After soldering it was time to test against this site one more time.
Final Assembly
Now that it all works, time to added it all to the keyboard case and install the key caps! The home stretch! I installed the case foam and then the PCB assembly, and started installing the key caps.
This was when I discovered that the 3 switches to the left of the space bar were slightly out of place and I had to remove everything from the case again and move them. Now back in the case and install all of the key caps again.
Final test against the keyboard test site revealed that the 1 key wasn’t working. I need that key! Everything back out of the case again. At least I only needed to remove enough key caps to get to the screws holding the PCB. As I suspected, one of my first switches to solder did not make a good contact and one pin needed to be redone. My suspicion is that it had enough contact during the original testing, but moving it back and forth in and out of the case broke the contact.
Programming
Final final reassembly and all looks good. Now to get the keyboard to use the layout I want. The parts page for the PCB said it worked with QMK, but the instructions doc was inaccessible. So back to Duck Duck Go for more searching. I found the QMK site, the QMK toolbox, etc. but ultimately found Via as the easiest, quickest, and least confusing option. It had the DZ60 PCB listed already, so I just selected my layout and voila! It just worked! I played with it a little bit more because the Fn key did not do anything, so I finally figured out how to set it to enable a different layer and now everything works the way I want. I may go back and figure out how to add arrows to the 2nd layer because I find that I miss them a bit, but that is a task for another day.
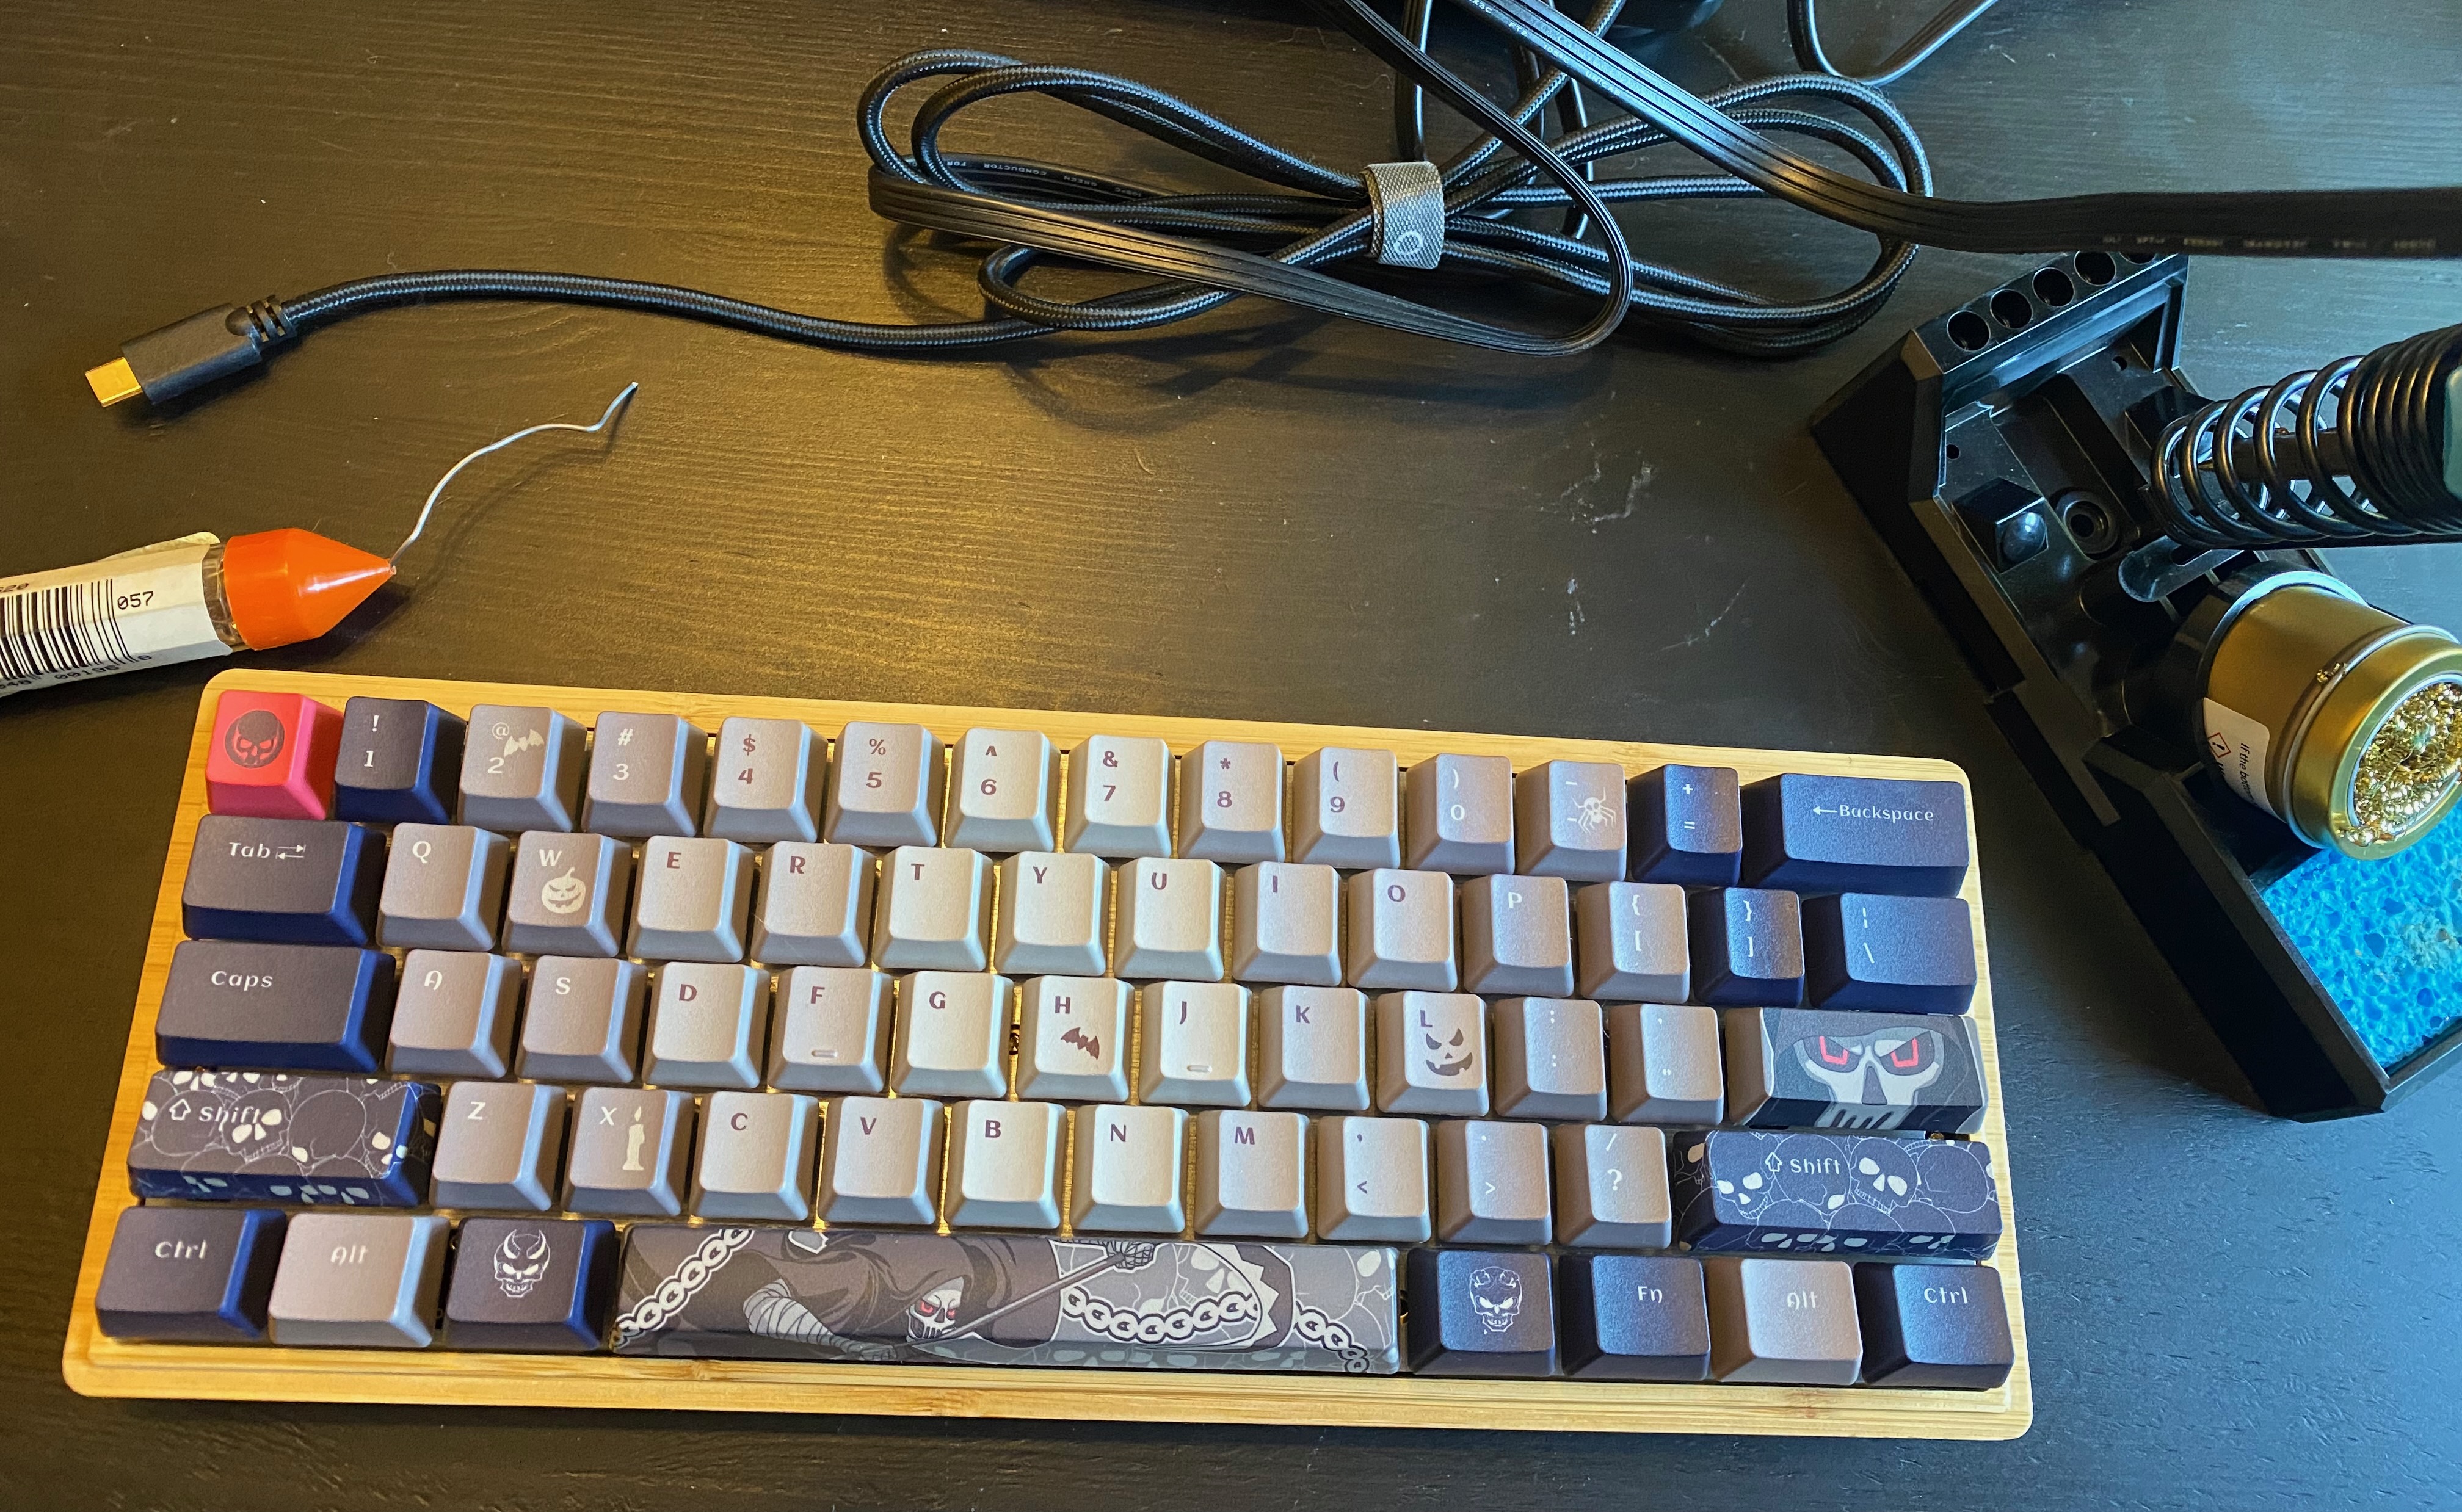
I’m not sure how much I like the spooky key caps. I’ll use them for a while to see if it makes a difference, but a lot of the caps eschew the standard of regular use below and shift use above (e.g. < above the , next to the M key). Zoom in on that key in the photo above and you’ll see what I mean. I didn’t notice that before ordering, and I’ll see if muscle memory is enough to get around it. Most of them will be fine, but it will take a bit to see if some of the lesser used ones will be.
